Samuel Glacier: The Coolest Overnight Hike in the Yukon
It’s been two years, and I still can’t stop talking about the time I hiked the Samuel Glacier trail.
“Hi, my name is Joanna and I slept under a glacier”. (Perfect for a two truths and a lie game, if you ask me).
A couple of years ago, we visited friends in the Yukon, and they took us on the Samuel Glacier hike. It was truly one of the COOLEST experiences of my life.
Join me below for all of the exciting details!
Minimal elevation gain, gorgeous views, an EPIC glacier – what more could you ask for?
Some links in this post are affiliate. If clicked, I may receive a small commission at no extra cost to you.
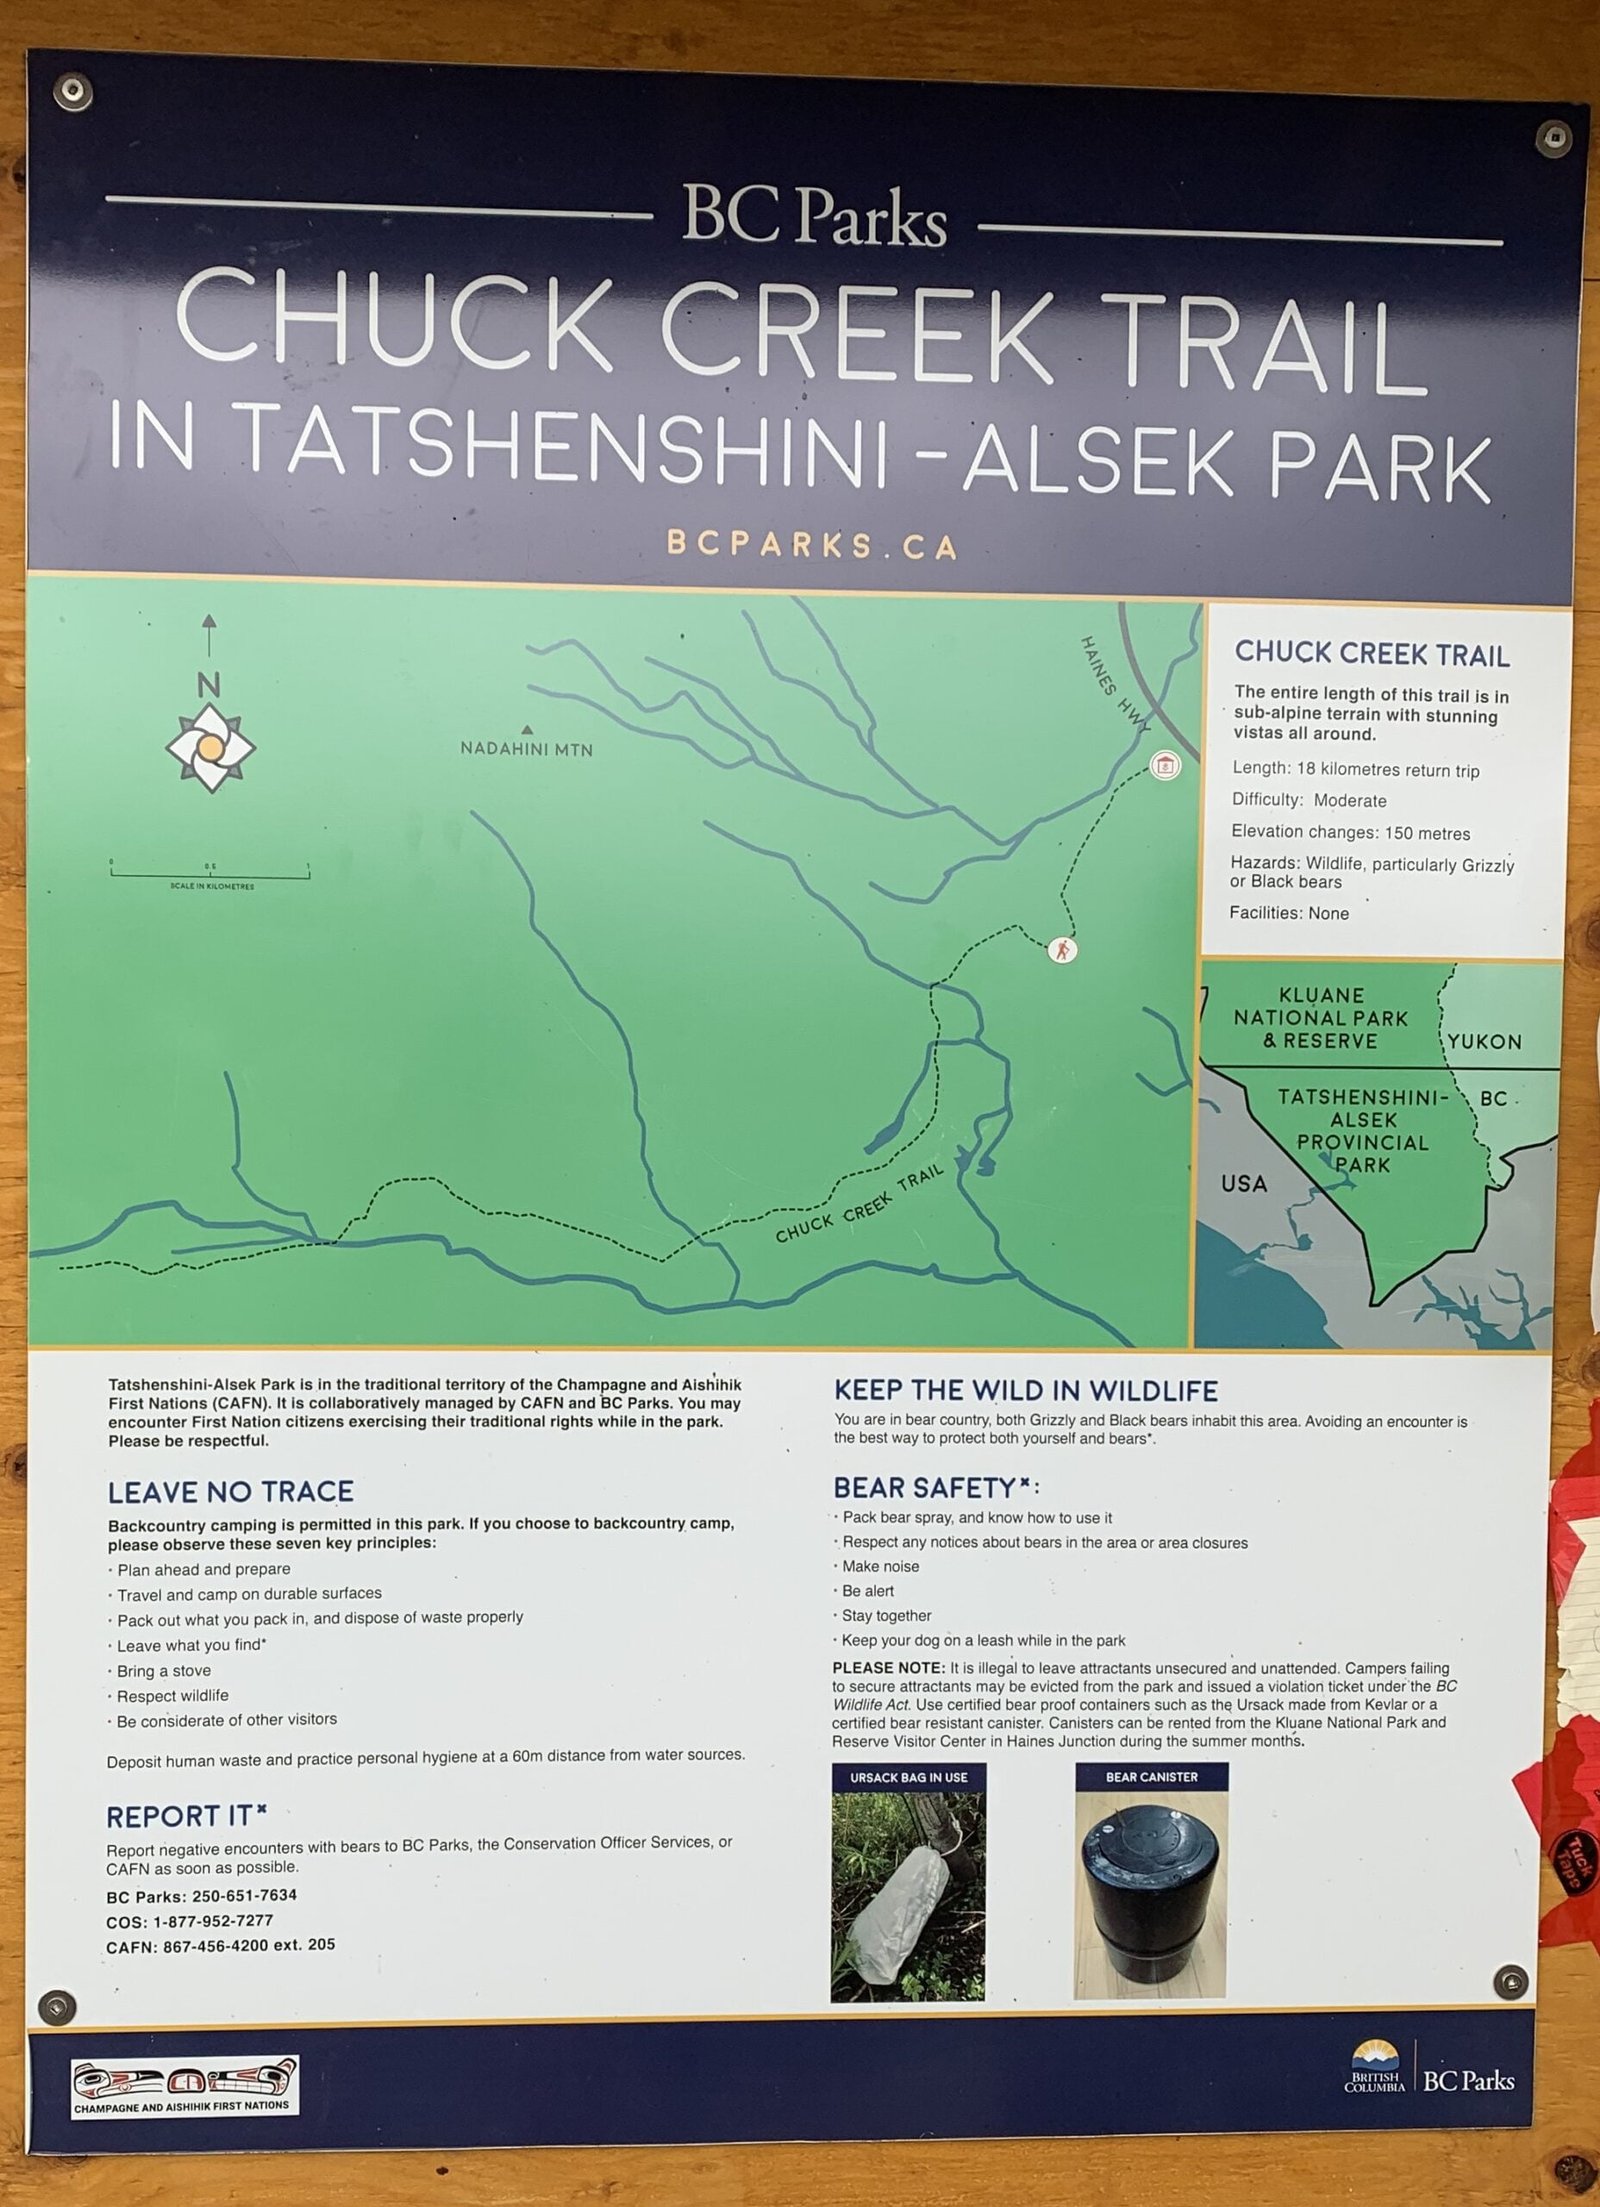
Important Info For Your Samuel Glacier Hike
1. You MUST bring bear spray. This is mandatory as the trail is in bear country. Purchase it at the Whitehorse Canadian Tire.
2. Download the free app, AllTrails and you can save the hikes offline. This is helpful for staying on the trail when you are out of service!
3. Bring waterproof shoes and / or a change of socks. There is a creek crossing and you will get wet!
Best Time to Hike Samuel Glacier
The best time to visit Samuel Glacier is between August to September. The summer days are long and the weather is fresh.
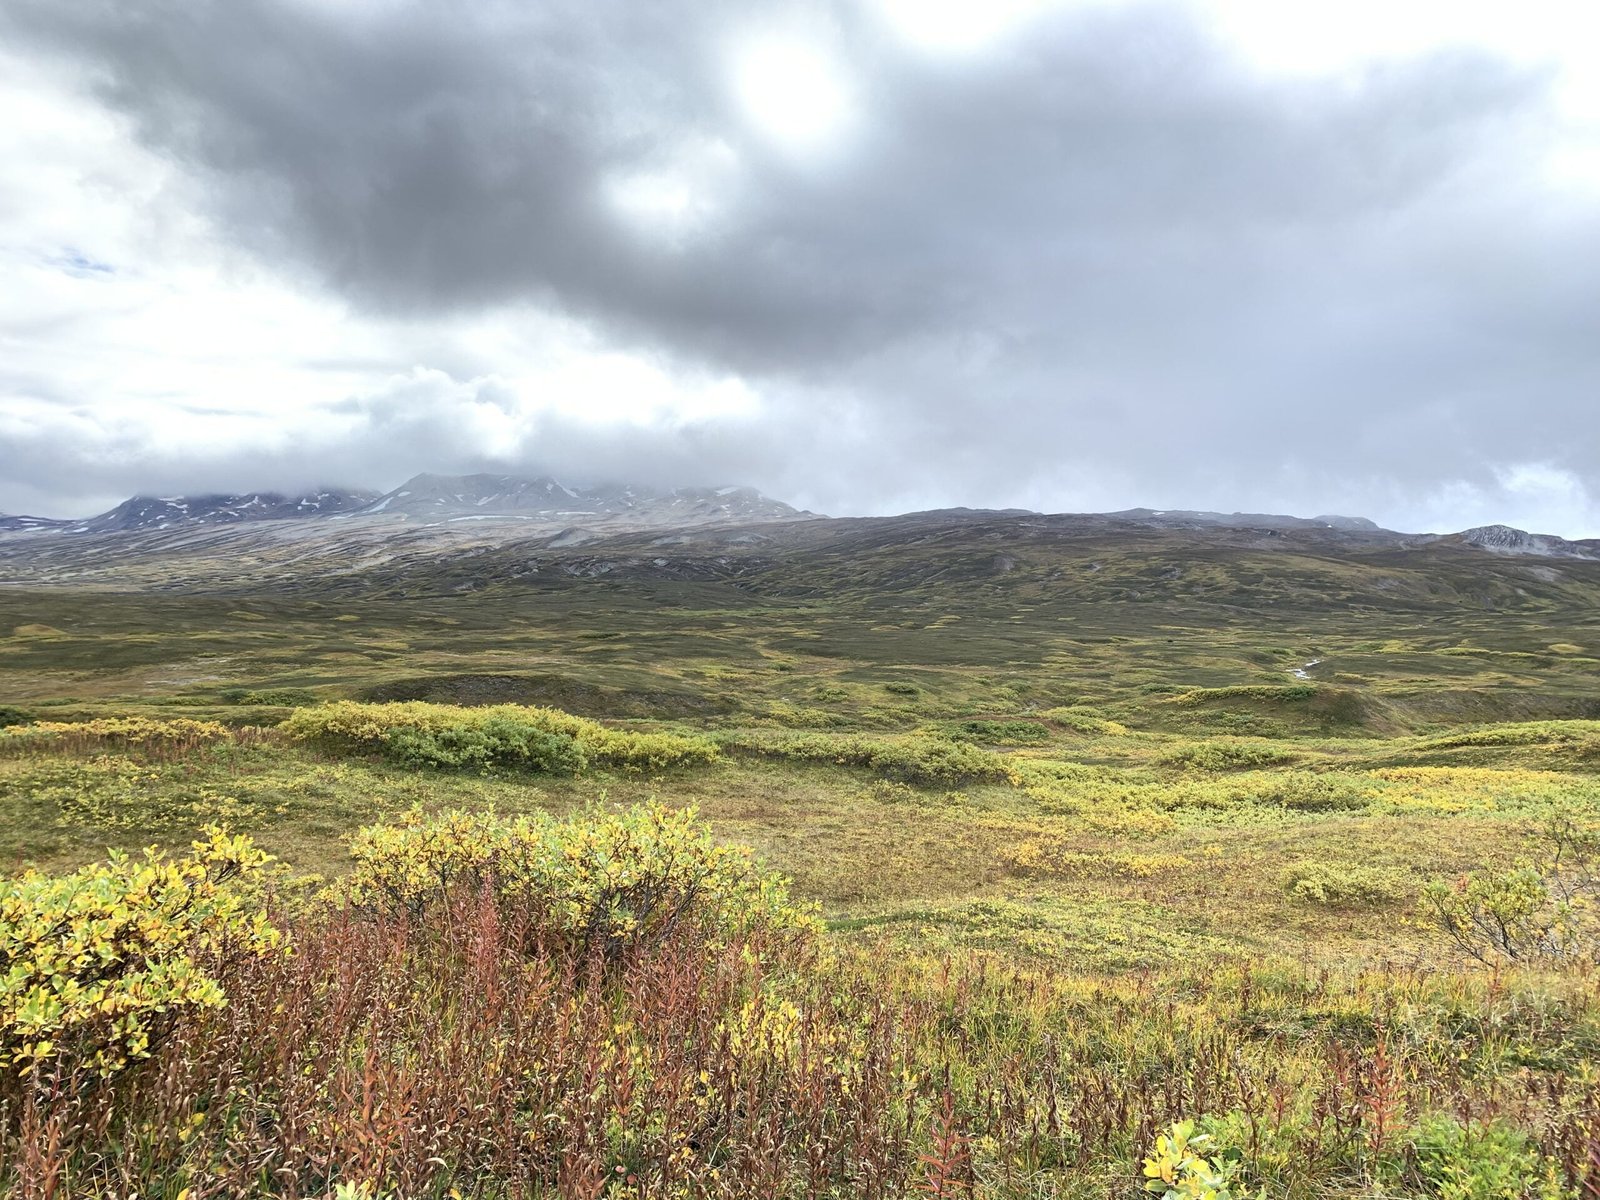
An important factor when hiking this trail is the weather.
If it is not a clear day along the trail, the view of Samuel Glacier will be obstructed, making the hike pretty pointless (in my opinion).
We were hiking this with a few friends and one of them had tried to do this same hike a few months prior, in the spring, and did not complete it because it was super cloudy and there was no view of the glacier.
I would keep an eye on the weather before venturing out on this hike.

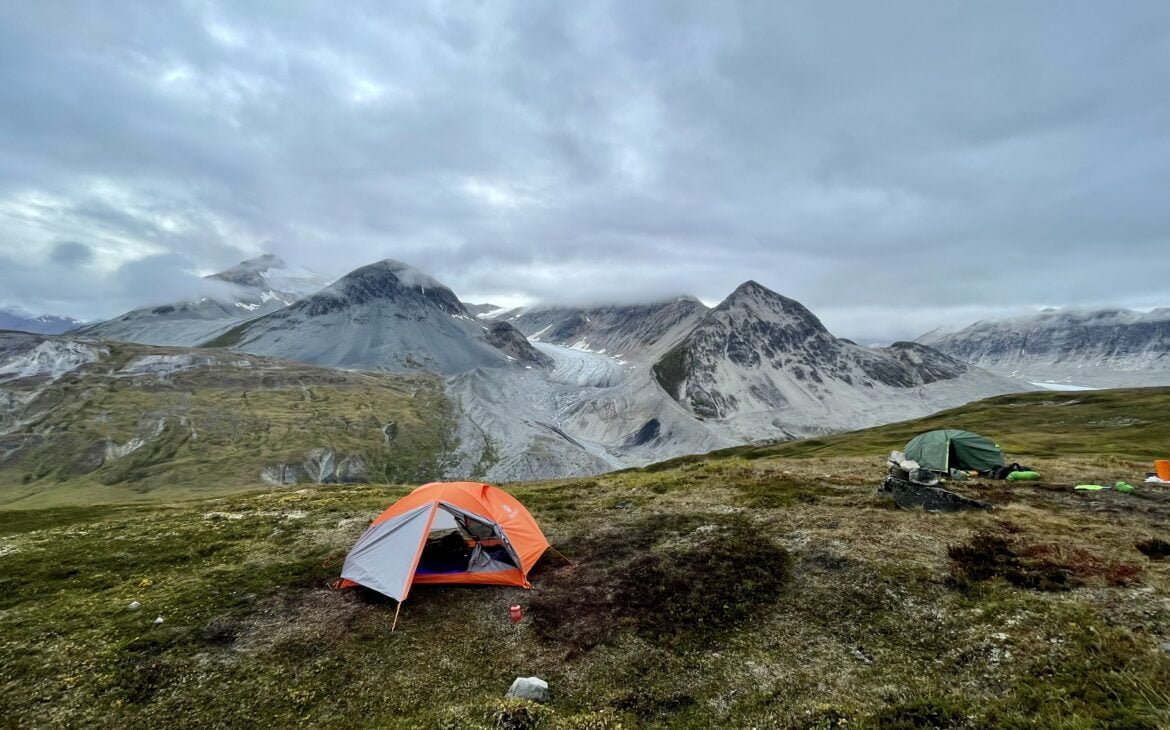
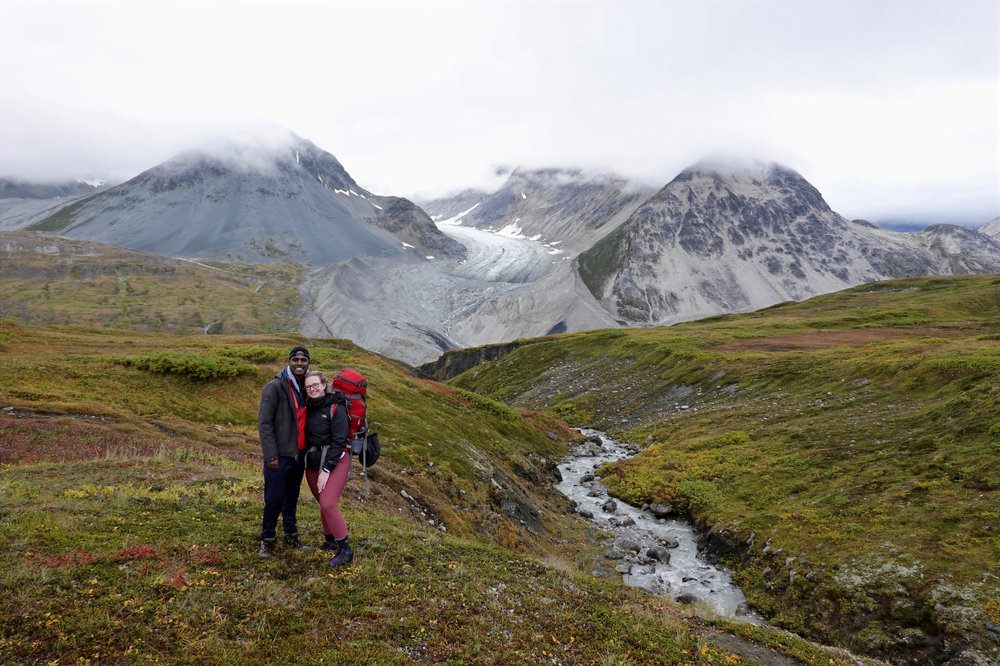
The photo above was taken in early September, if the clouds were any lower we wouldn’t have seen the glacier!
Where is Samuel Glacier?
Samuel Glacier is located within Tatshenshini-Alsek Provincial Park in British Columbia, Canada.
Although this is a popular Yukon Territory hiking trail, the trail itself is located just shy of the border in BC.
The easiest way to get to Samuel Glacier is via Whitehorse, Yukon and the trail is considered a Yukon hike.
Map of Samuel Glacier & Trailhead
Zoom out of the map above to see where the trail is in connection to the border of British Columbia and Yukon Territory.
Click here for the pinned trailhead location on Google Maps.
How to get to Samuel Glacier from Whitehorse Yukon
The drive from Whitehorse to Samuel Glacier is 294 kilometres and can be completed in about 3.5 hours.
Head out of Whitehorse and take the Alaska Highway North for 152 kilometres until you have reached Haines Junction, a small village in Yukon Territory and the gateway to Kluane National Park and Reserve.
Transfer to Haines Rd. and drive along for 139 kilometres, crossing the border into British Columbia.
Take this road until you reach the trailhead of Samuel Glacier.
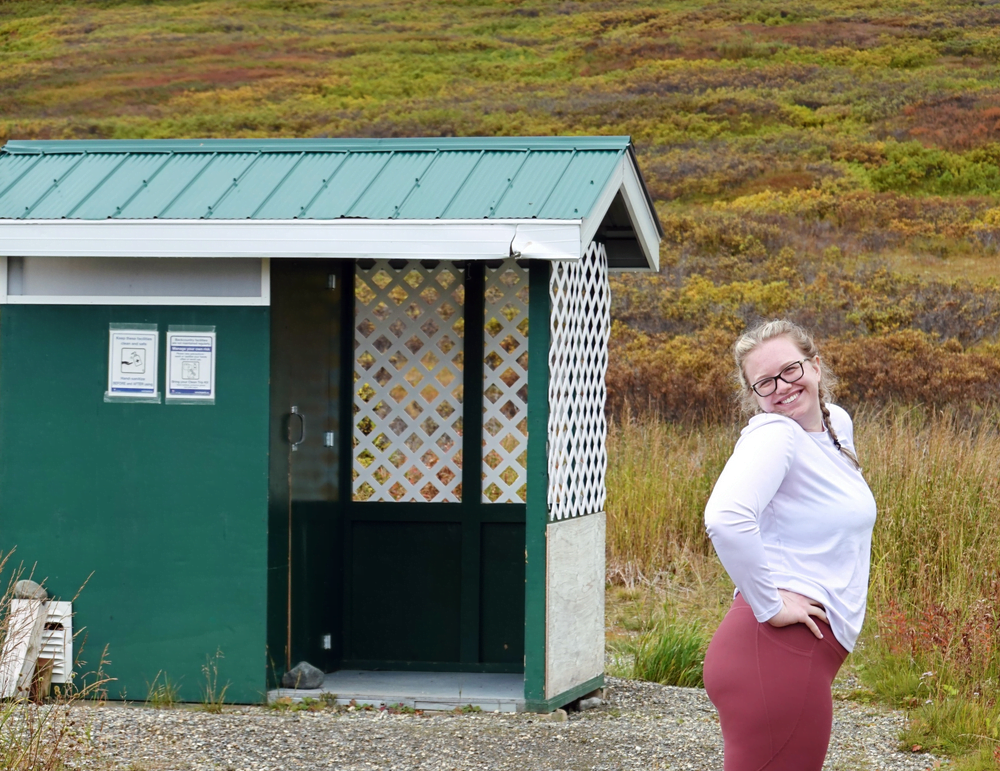
The trailhead is located on the right hand side, you will see a green outhouse and potentially some cars parked.
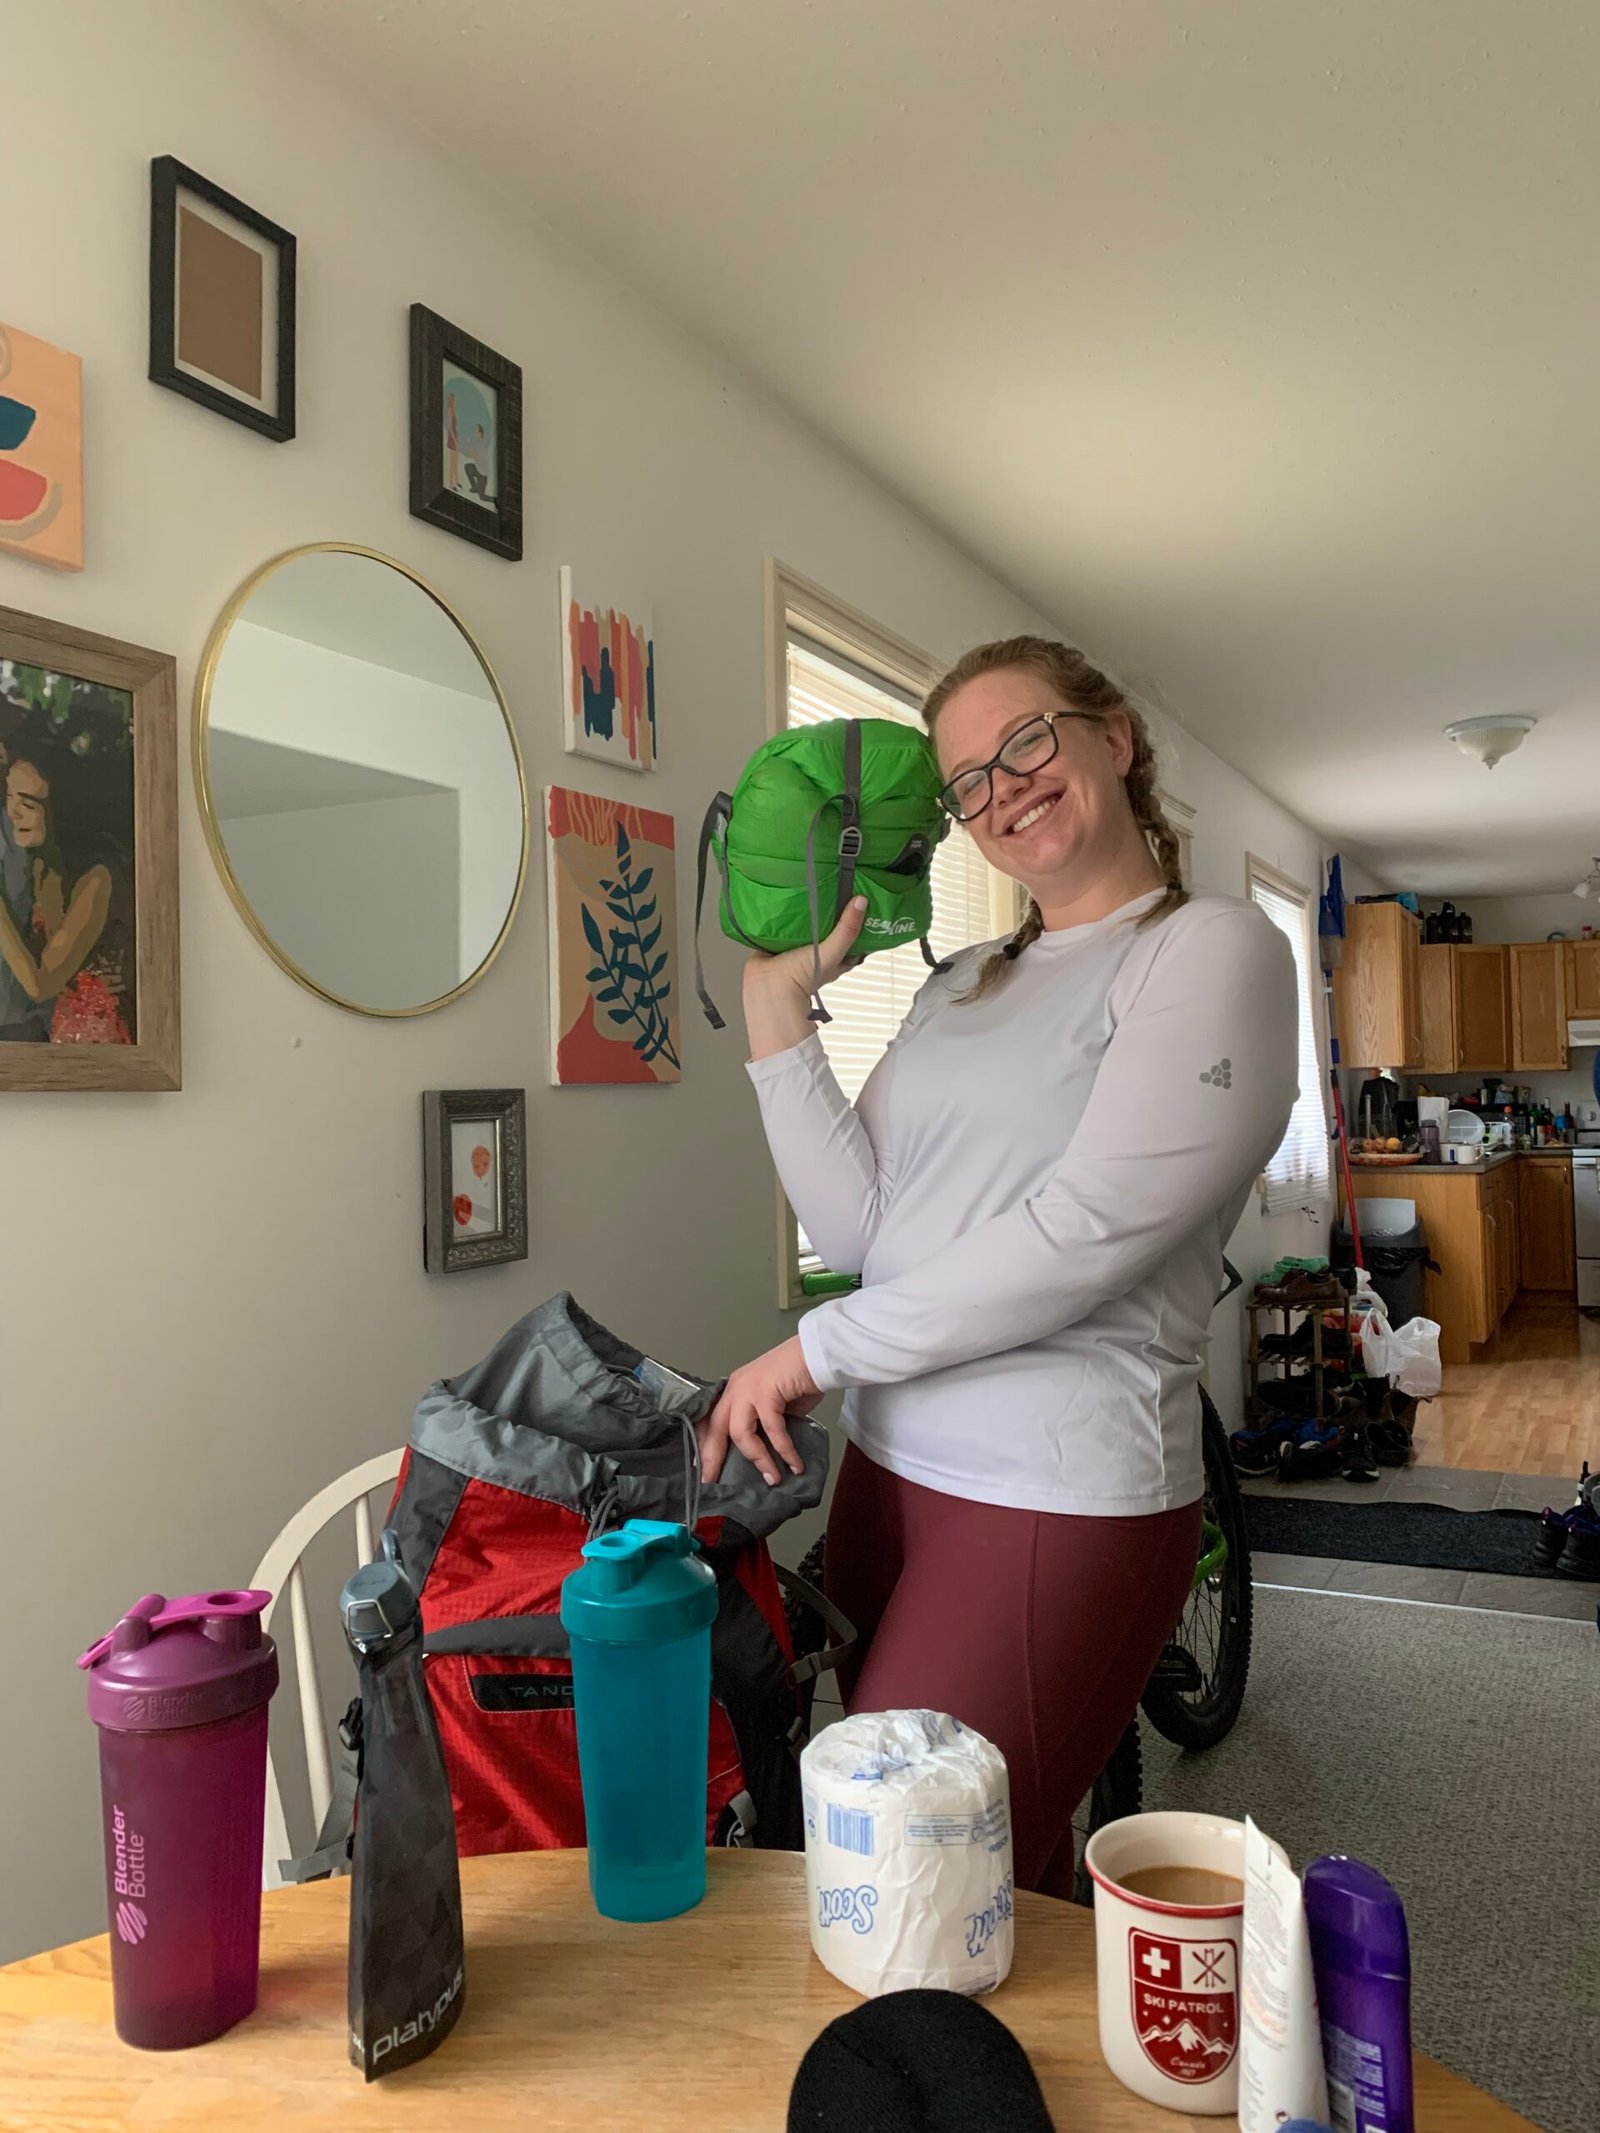
Packing for Your Overnight Hike
Backpack
- Hiking backpack (for all supplies)
- Rain cover
Sleeping Supplies
- Tent
- Sleeping Pad
- Sleeping Bag (appropriate for temperature)
Clothing
- Workout / hiking clothing (wear one outfit, pack the other)
- Waterproof boots / shoes
- Extra pairs of socks (x3)
- Comfortable shoes to change into for camping overnight
- Waterproof jacket
- Sweater
- Hats & gloves
Food Supplies
- Food: snacks, dinner, breakfast
- Bear safe canister
- Mini fuel with cookware
- Kitchen utensils
- Water bottles, water filter
Toiletries
- Basic necessities: toothpaste, toothbrush
- Toilet paper
- Deodorant
- Sunscreen
- Bug spray
- Hand sanitizer
- First aid kit
Miscellaneous
- Bear spray
- Flashlight
- Lighter
The Samuel Glacier Overnight Hike
Samuel Glacier Facts
Samuel Glacier is an out & back trail with a moderate difficulty rating.
Click here for the Samuel Glacier via Chuck Creek Trail on AllTrails.
Below, I list the trail information found online and compare it to my Apple Watch findings.
Just take an average of these metrics to get a better understanding, they are not very different.
| Online | My Apple Watch | |
| Distance | 19-21 km out & back | 21.9 km out & back |
| Length | 6-8 hours | 6 hours, 20 minutes |
| Elevation Gain | 362 meters | 273 meters (out) 134 meters (back) |
Our Hiking Experience
We visited our friends who live in the Yukon and really wanted to experience an overnight hike. We left the planning in their hands and were SO happy with their choice.
Once arriving at the trailhead, make sure you take some time to read the information.
People leave personal notes about their hikes and bear sightings.
Familiarize yourself with the bear safety tips, you are in bear country!
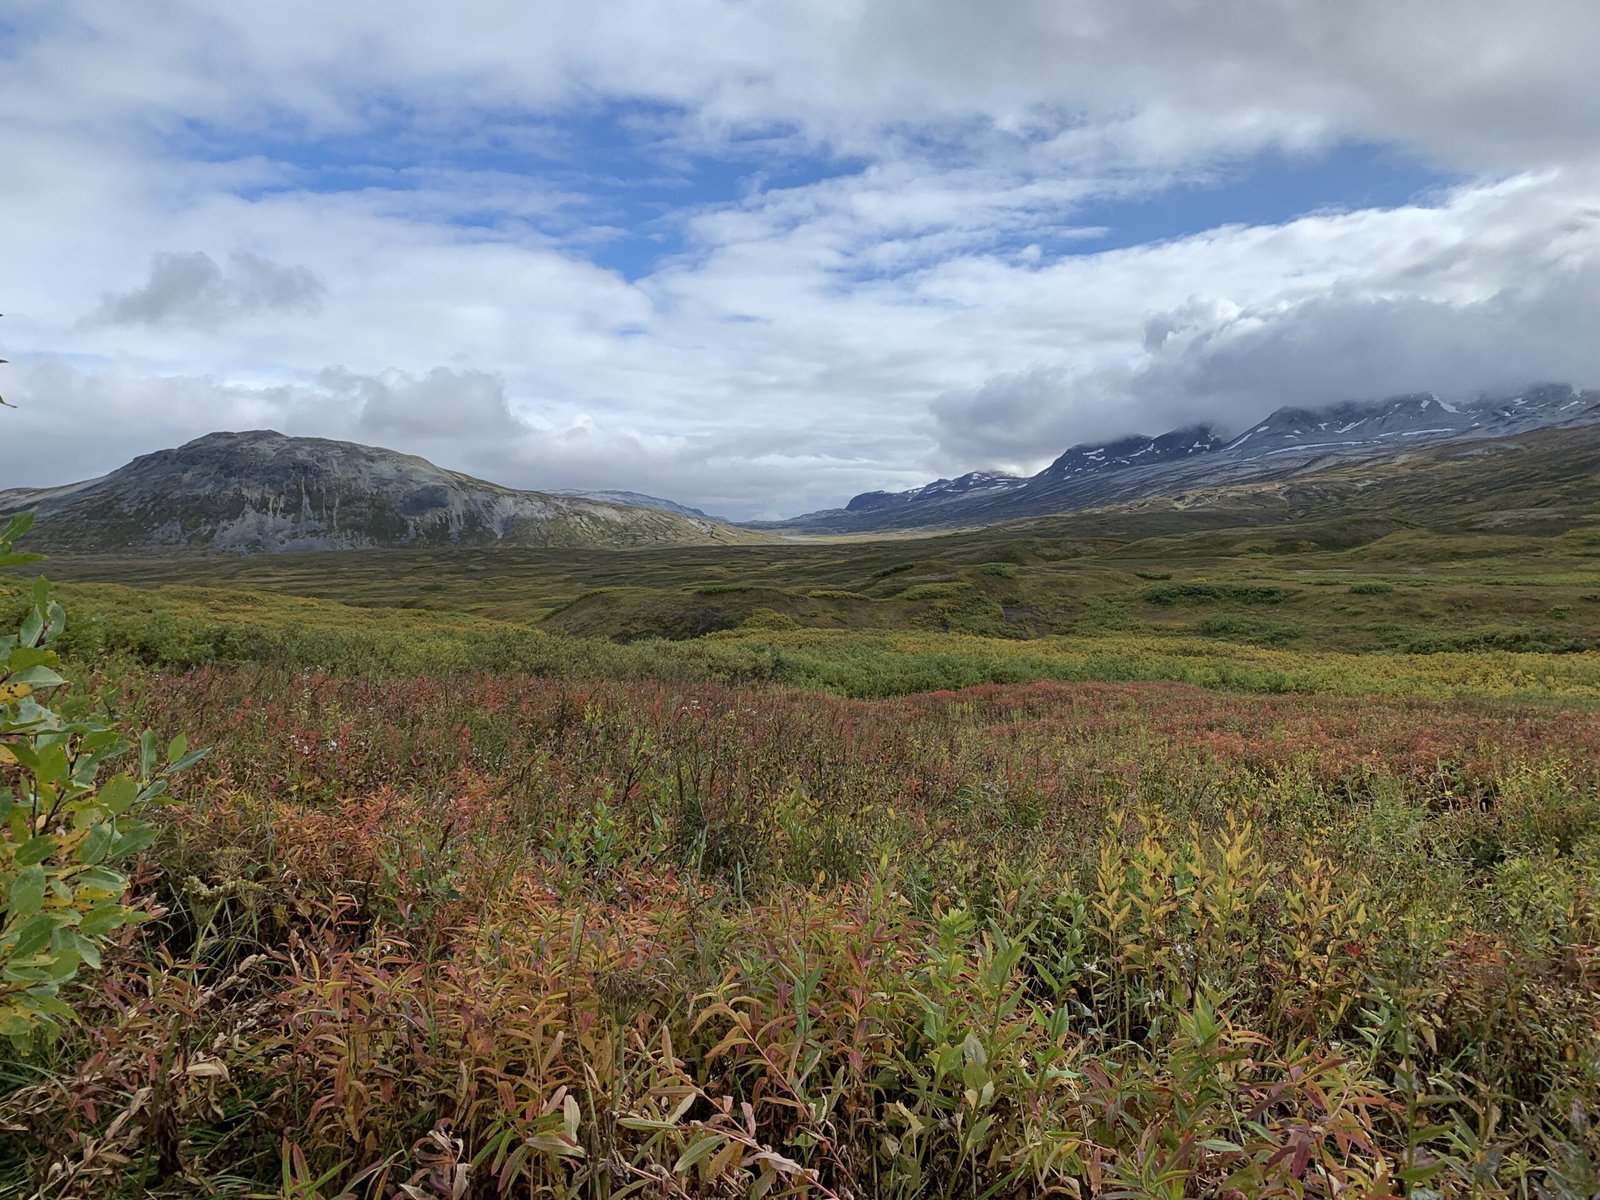
The hike out was lengthy, 10.8 kilometres to the glacier, but the minimal elevation gain was exactly what we wanted.
Although you cannot see the glacier until the second half of the hike, the views for the first 6 kilometres are just as great!
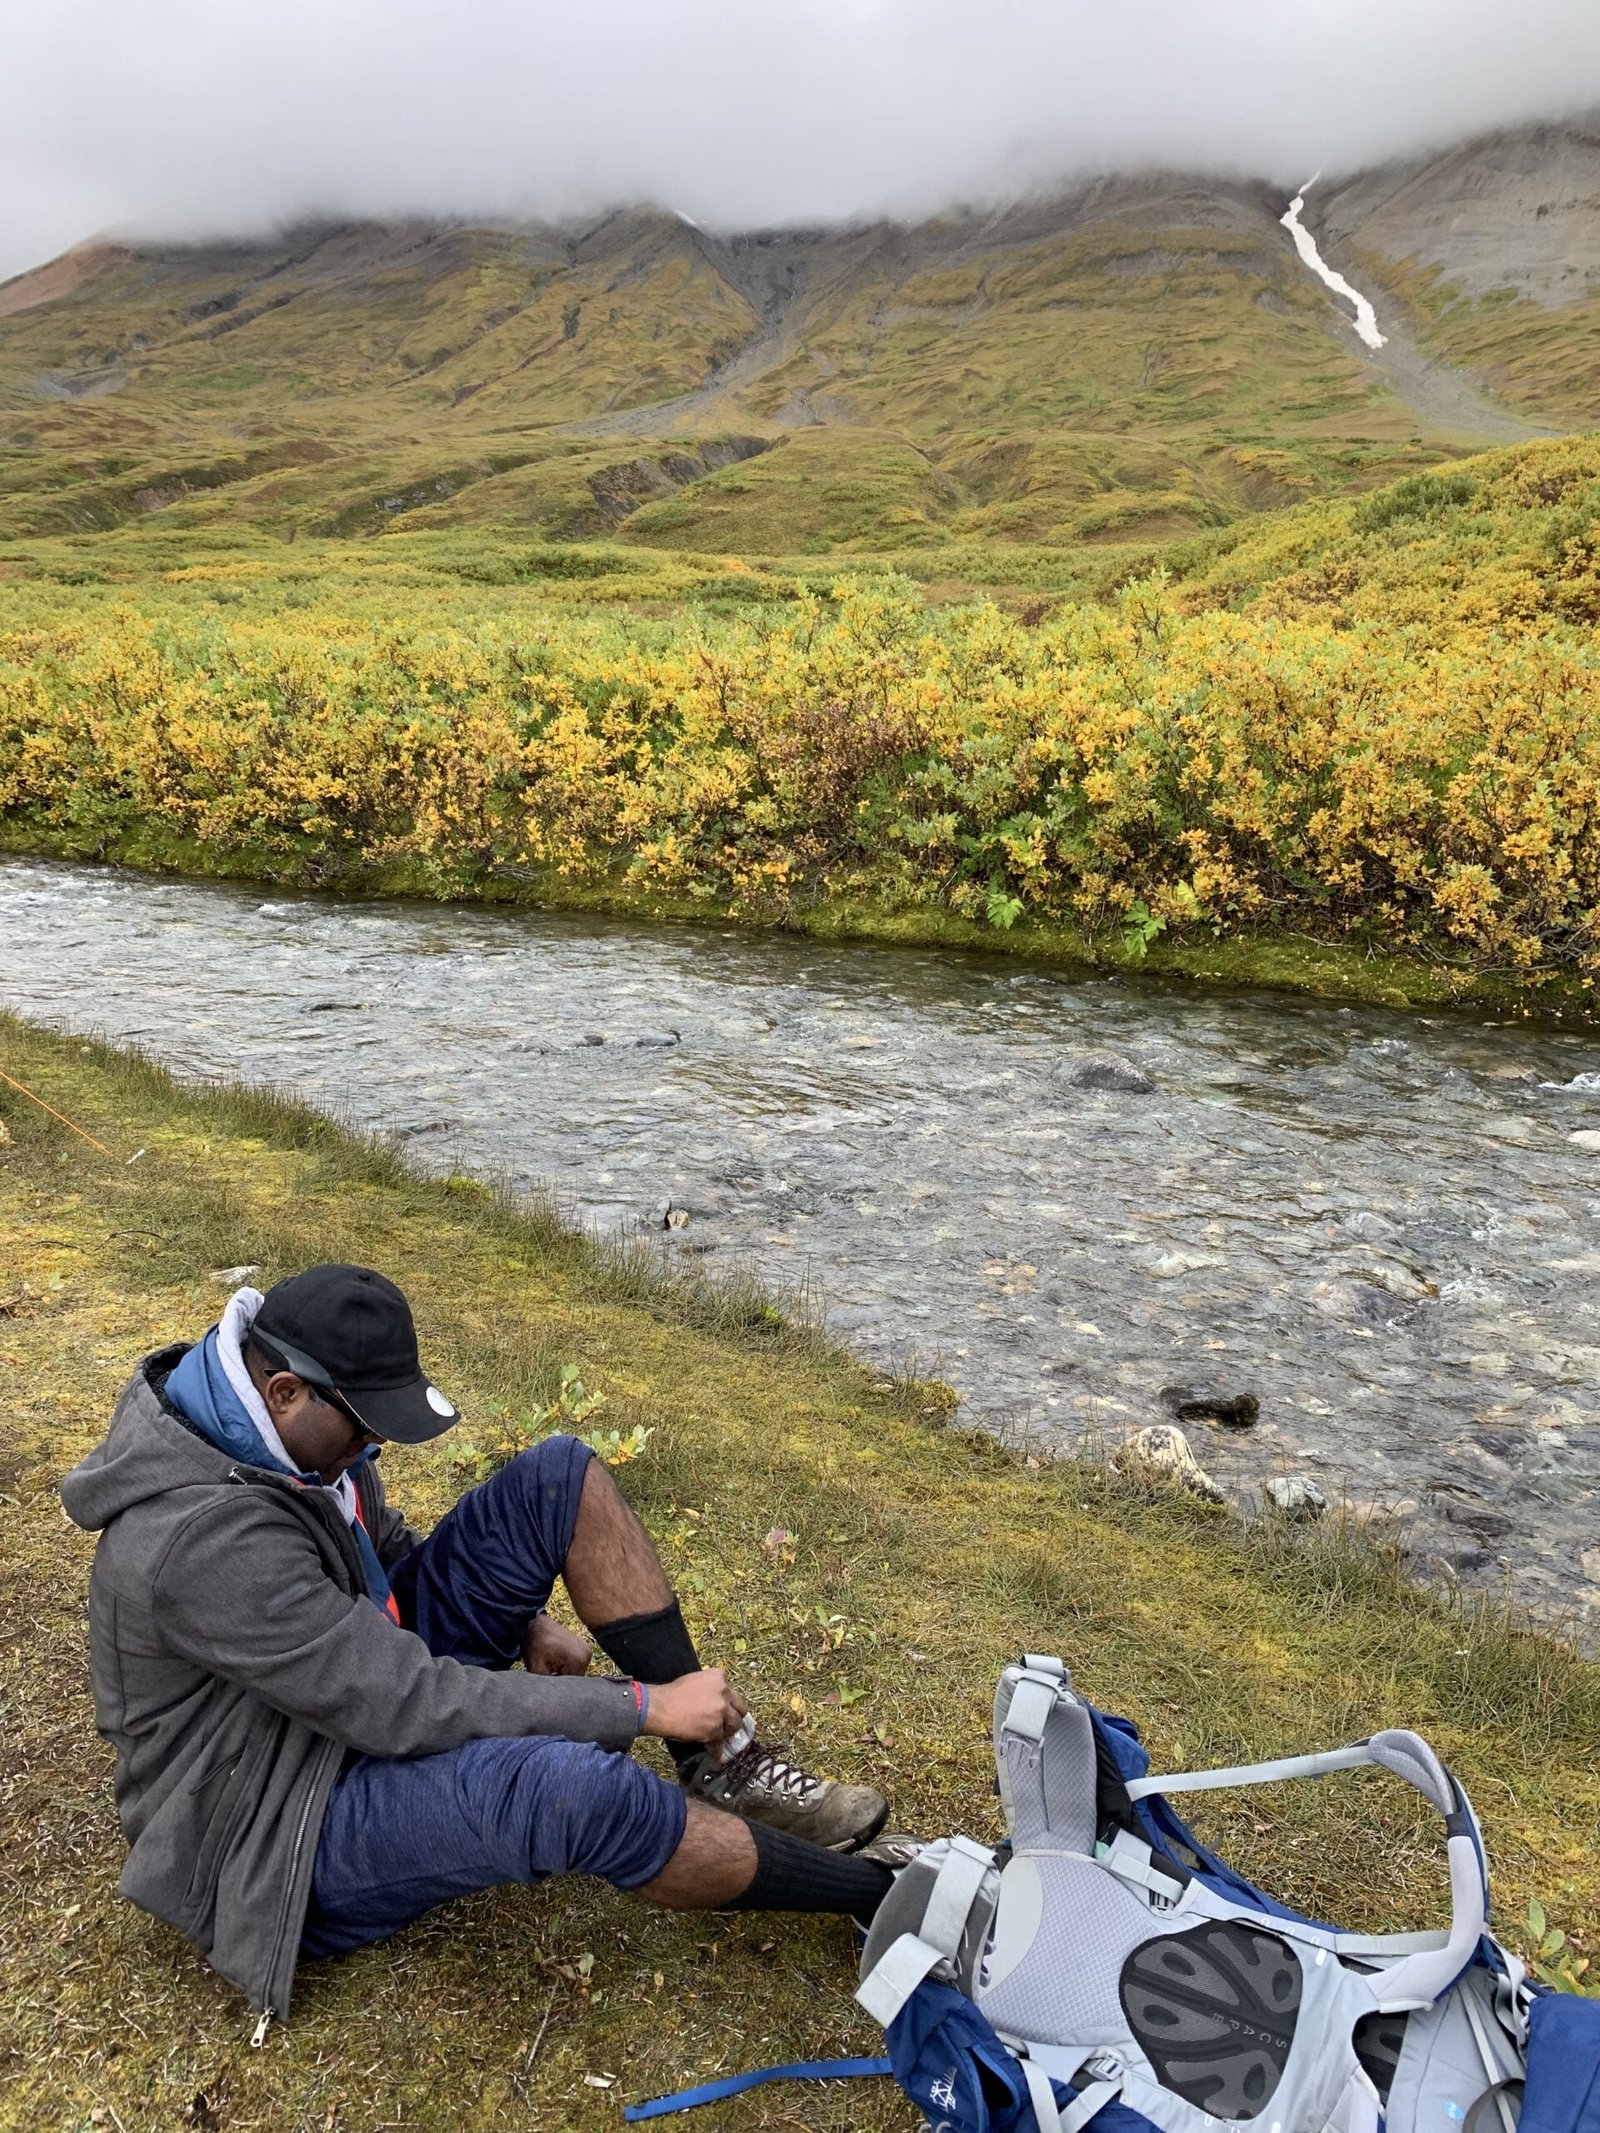
At 6.1 kilometres into the hike, you will reach a creek crossing. This is the reason for the waterproof shoes.
Honestly, I recommend taking off your shoes and socks and crossing the creek with sandals or crocs like we did, at your own discretion of course!
Continue on the trail and in no time you will start to have views of Samuel Glacier in the distance!

Although the glacier seems close, you still have quite a few kilometres to go!
The last part of the trail was very marshy and wet, I was super thankful for my waterproof shoes.
We were in awe for the entirety of the second half of the hike. The glacier looks small in the above photo, it is anything but!
Once you get to the viewpoints, enjoy some photo sessions under the glaciers and find a place to set up your tents.
There is no designated camping space.
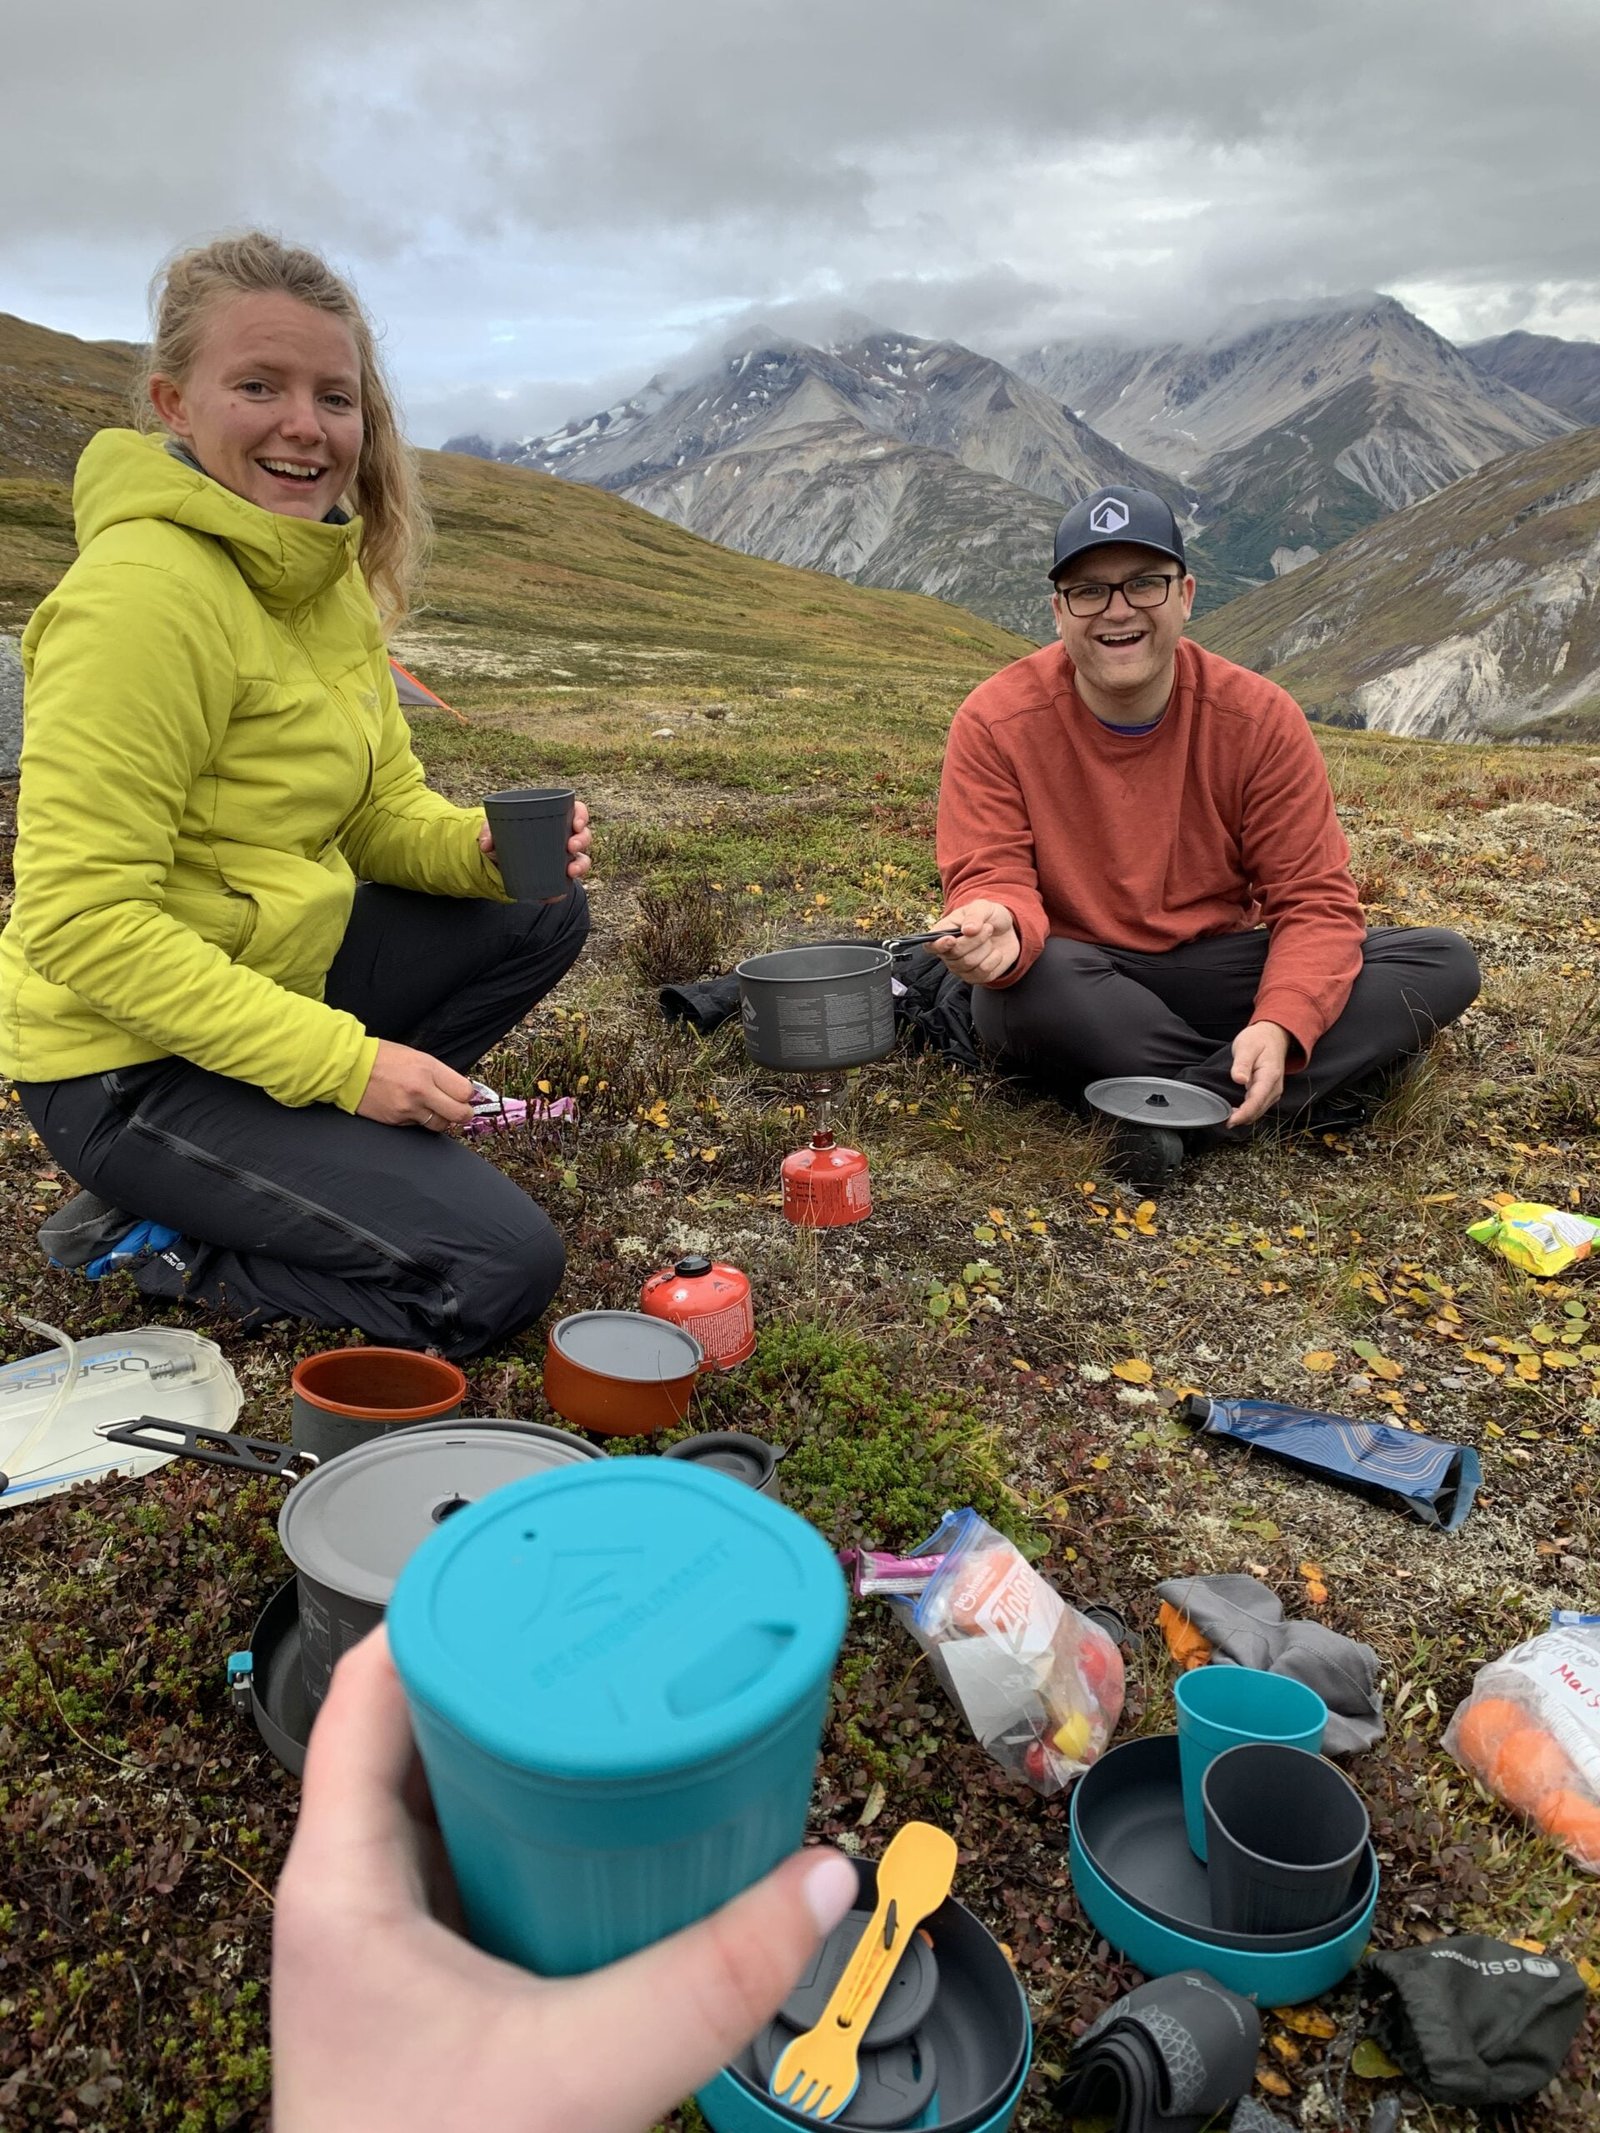
Once your tents are set up for bed, hang around, eat some dinner and enjoy the views with your people.
Note: Always keep bear spray on you!
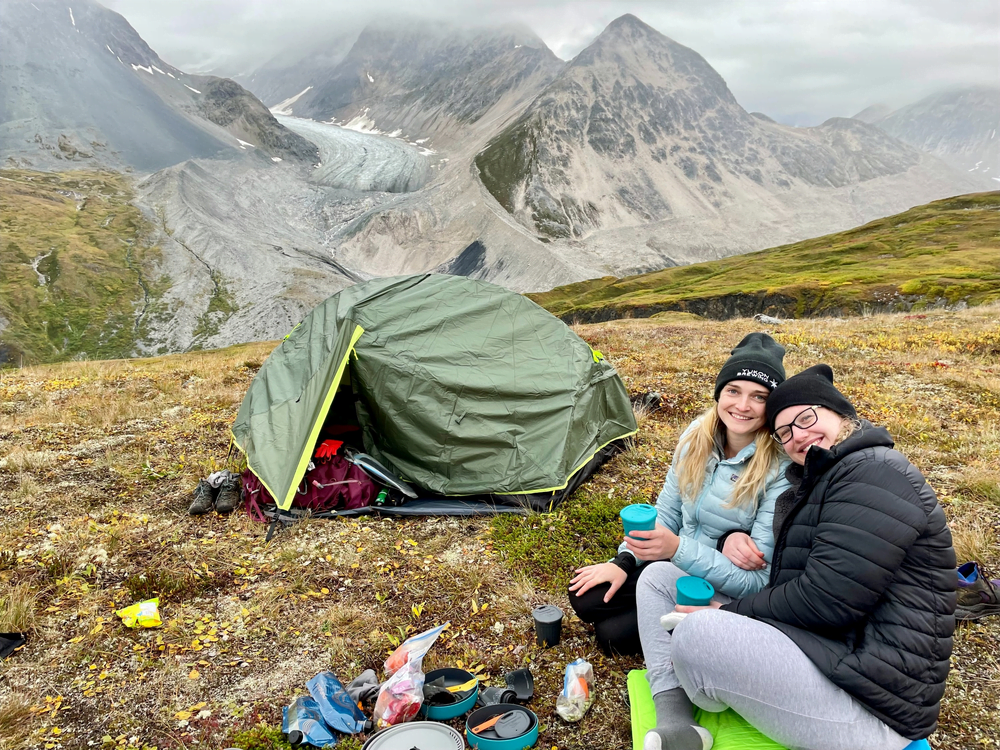
Truly, this was one of the coolest experiences of my entire life.
Before you go to bed, make sure you put EVERYTHING that has an odour into the bear safe canister.
This includes all food, deodorant, toothpaste, chapstick, etc.
Goodnight!
Wake up the next day, have a delicious breakfast, pack up and hike back the way you came.
The hike looks incredible from photos but is even more surreal in person. You truly can’t comprehend the glacier’s size unless you see it for yourself.
Pin this hike & save it for later!
Need help with personal travel planning?
I create custom itineraries and activity guides starting at $25.00 CAD per day!

Final Thoughts on the Samuel Glacier Hike
If you have any question about whether or not to do the Samuel Glacier hike, I 100% recommend you do it. The minimal elevation gain, stunning views and EPIC glacier all make for the perfect hike.
I can actually say the words “I’ve camped under a glacier!!”
Yukon Territory is a must visit destination when travelling through Canada, make sure to use this Yukon Territory travel guide for your trip planning.
For more Yukon hiking, I definitely recommend heading north to Tombstone Territorial Park via Dawson City.
If you want some other hiking areas in Canada, check out this Banff itinerary, Jasper itinerary or Banff to Jasper itinerary!
Happy hiking!